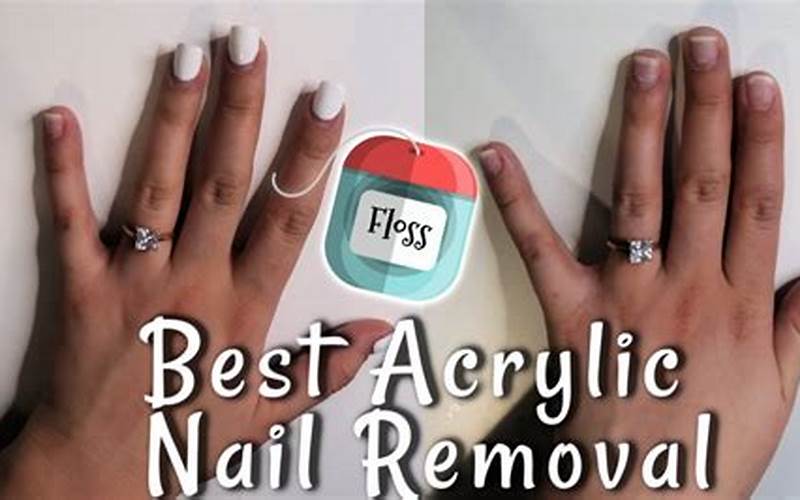
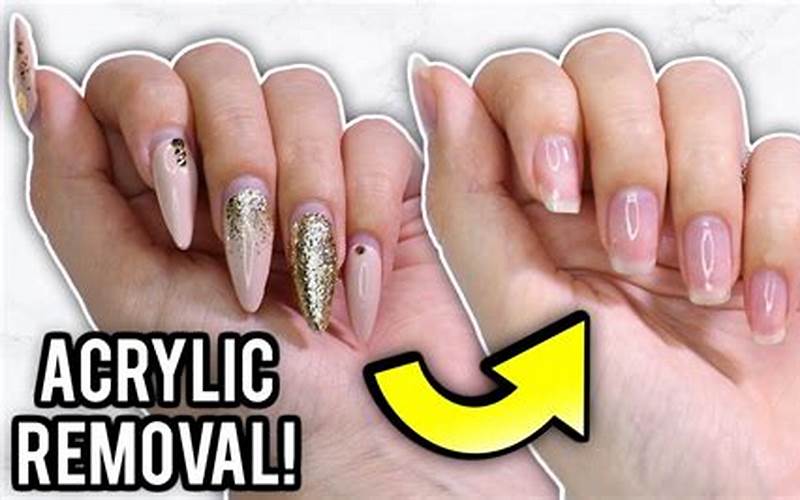
Acrylic nails have become increasingly popular over the years due to their durability and ability to enhance the beauty of your hands. However, there may come a time when you want to remove them at home without having to visit a salon. In this article, we will guide you through the process of safely and effectively removing acrylic nails in the comfort of your own home.
Gather the Necessary Supplies
 Source: tse1.mm.bing.net
Before you begin the removal process, it’s essential to gather all the necessary supplies. Here’s a list of items you’ll need:
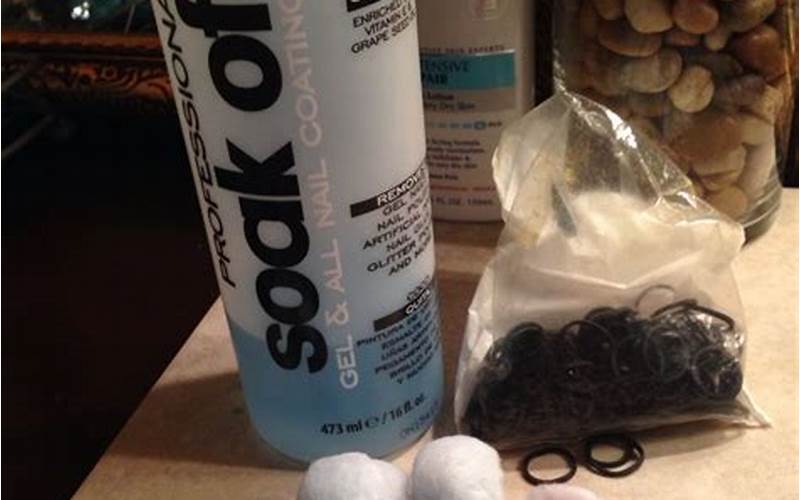
- Acetone nail polish remover
- Cotton balls or pads
- Aluminum foil
- A nail file and buffer
- Cuticle oil
- A gentle soap or hand sanitizer
- A bowl or container
- A towel
Step 1: Protect Your Work Area
 Source: tse1.mm.bing.net
Before you begin, it’s important to protect your work area. Acetone can damage surfaces, so lay down a towel or some newspaper to prevent any accidental spills or stains.
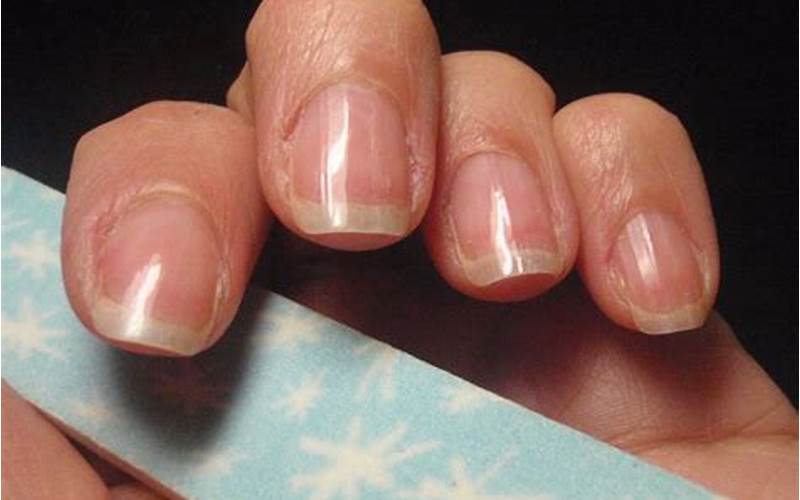
Step 2: File the Surface of Your Acrylic Nails
 Source: tse1.mm.bing.net
Using a nail file, gently file the surface of your acrylic nails. This will help break the seal and allow the acetone to penetrate more effectively.
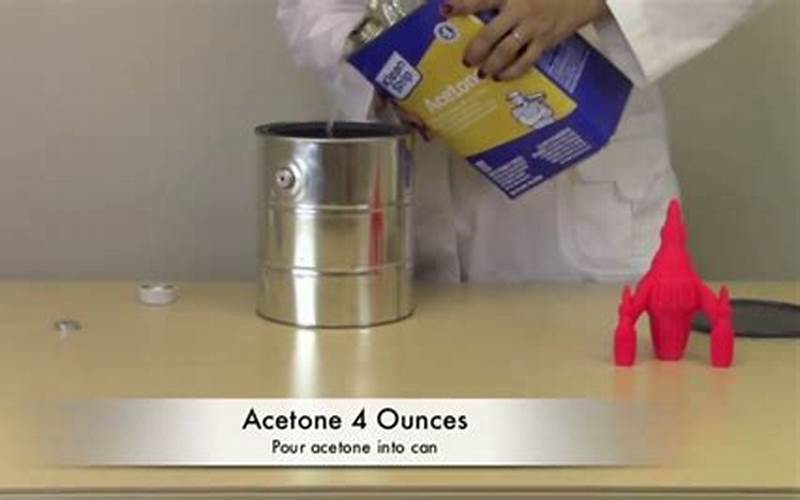
Step 3: Soak Cotton Balls in Acetone
 Source: tse1.mm.bing.net
Take a few cotton balls or pads and soak them in acetone nail polish remover. Make sure they are fully saturated but not dripping.
Step 4: Apply Acetone-Soaked Cotton Balls
 Source: tse1.mm.bing.net
Place the acetone-soaked cotton balls on top of your nails, ensuring that each nail is fully covered. You can also use small pieces of aluminum foil to secure the cotton balls in place.
Step 5: Wait for the Acetone to Work
 Source: tse1.mm.bing.net
Allow the acetone to work its magic for about 15-20 minutes. During this time, the acetone will break down the acrylic, making it easier to remove.
Step 6: Gently Remove the Acrylic Nails
 Source: tse1.mm.bing.net
After 15-20 minutes, check if the acrylic nails have loosened. If they have, gently remove them using a wooden cuticle stick or a nail pusher. Be careful not to force or pry them off, as this can cause damage to your natural nails.
Step 7: Buff and File Your Nails
 Source: tse1.mm.bing.net
Once you’ve removed the acrylic nails, you may notice some residue or roughness on your natural nails. Use a nail buffer to smooth out any imperfections and a nail file to shape your nails to your desired length and shape.
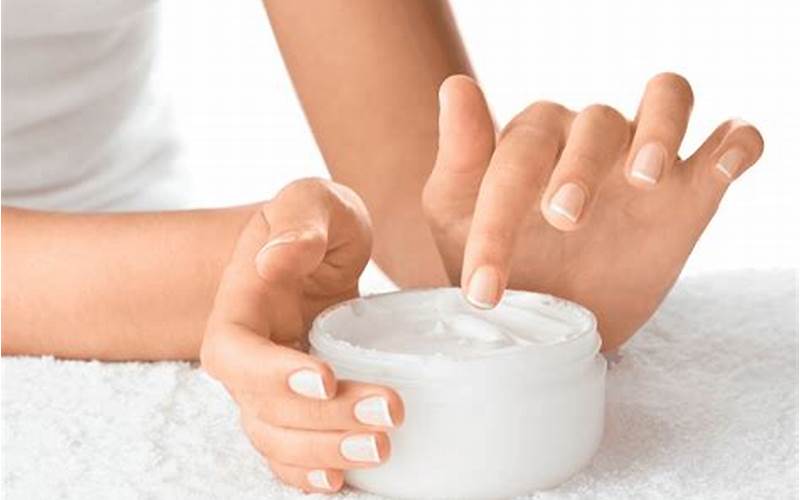
Step 8: Moisturize Your Nails
 Source: tse1.mm.bing.net
After the removal process, it’s important to moisturize your nails and cuticles. Apply cuticle oil or a nourishing hand cream to keep your nails healthy and hydrated.
Step 9: Clean Up
 Source: tse1.mm.bing.net
Clean up your work area by removing any spilled acetone and properly disposing of the used cotton balls and aluminum foil. Wash your hands thoroughly with a gentle soap or use hand sanitizer to remove any remaining residue.
Conclusion
Removing acrylic nails at home can be a straightforward process if done correctly. By following these step-by-step instructions and using the right tools and supplies, you can safely remove your acrylic nails and maintain the health of your natural nails. Remember to take your time and be gentle throughout the process to avoid any damage. If you’re unsure or uncomfortable with removing your acrylic nails at home, it’s always best to seek professional assistance.